
LiftMaster Sensors: Complete Guide to Alignment, Fixes & Safety
LiftMaster sensors (also called safety reversing sensors or photo eyes) are essential safety features on garage door openers that detect obstructions and prevent accidents. This complete guide covers how they work, common issues like misalignment or light problems, step-by-step fixes, replacement parts such as the 041-0136 kit, and best practices to ensure reliable operation.
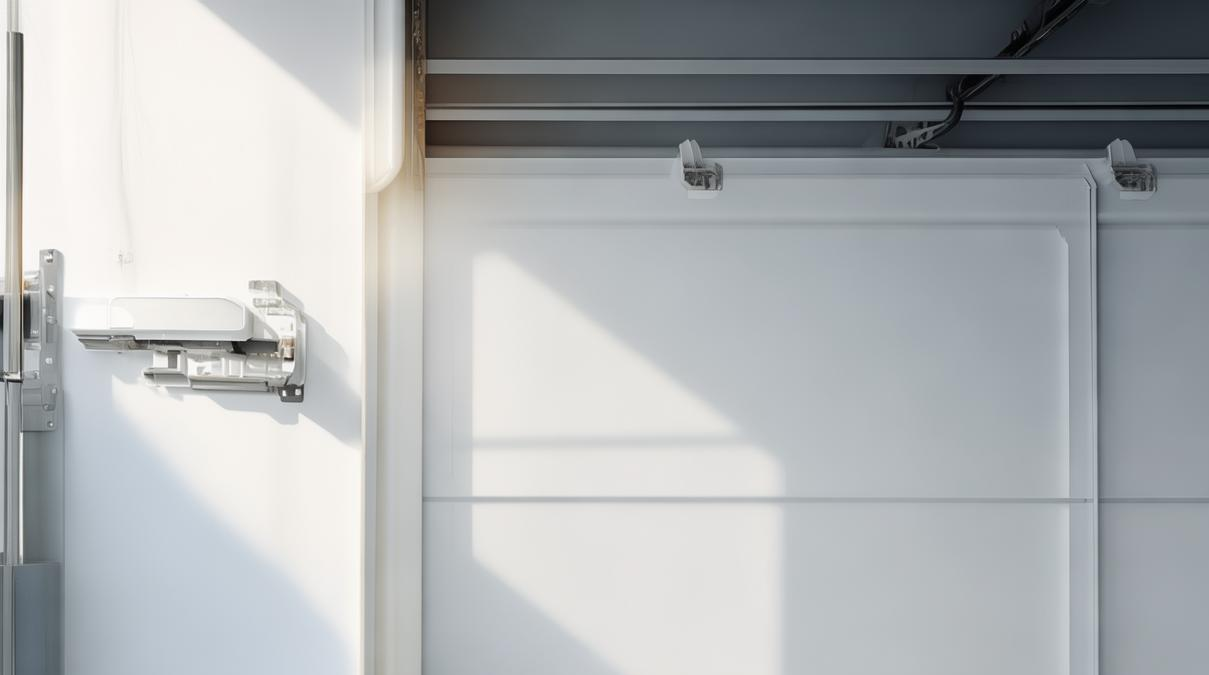
LiftMaster sensors: The Complete Guide provides essential knowledge for every garage door owner. These safety reversing sensors (infrared photo eyes) form the Protector System, automatically stopping the door when an obstruction is detected. Their proper function is critical for households with children and pets, and compliance with federal safety standards. This comprehensive resource covers how the technology works, LED indicator meanings, step-by-step alignment and wiring, troubleshooting common issues like yellow or blinking lights, and replacement with kits such as 041-0136. Also included are maintenance routines, testing procedures, and compatibility information for LiftMaster, Chamberlain, and myQ systems. Understanding these sensors ensures safe, reliable garage door operation.
How LiftMaster Safety Sensors Work: Technology, Types, and Indicators
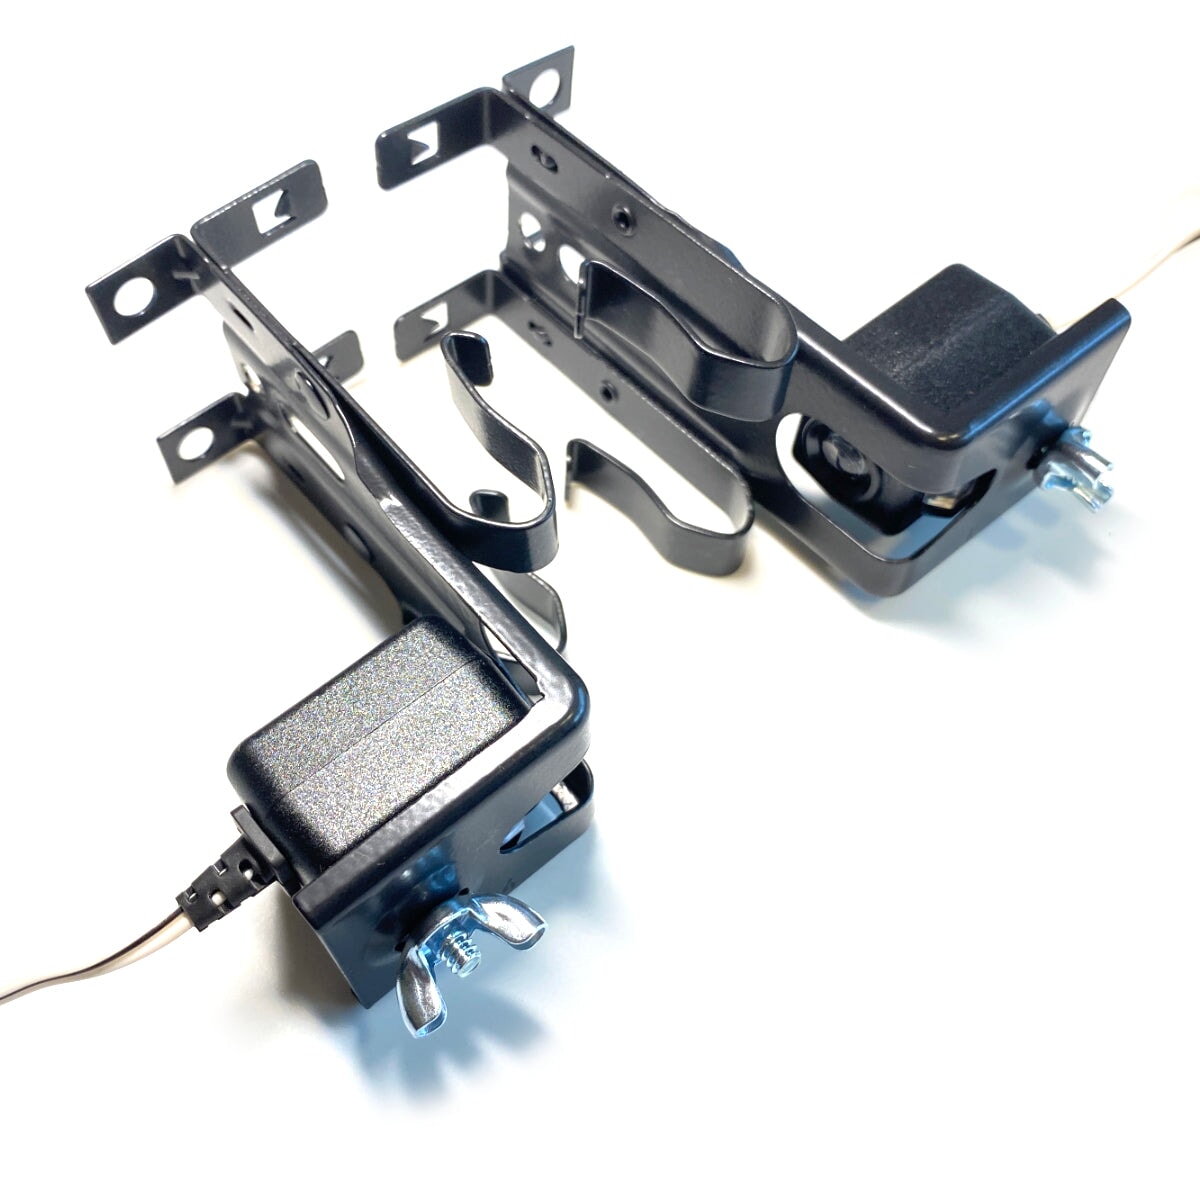
The Core Technology: Infrared Beams and Obstruction Detection
LiftMaster safety sensors use an emitter and a receiver to create an invisible infrared beam. The emitter sends the beam, and the receiver catches it. When the beam breaks, the Protector System tells the opener to reverse or stop closing. This stops the door from hitting people, pets, or objects. Rolling code technology changes the access code each time you use the door. This keeps the link between sensors and opener safe from hackers. For a deeper look at all features, refer to the LiftMaster sensors complete guide.
Types of LiftMaster Sensors (Standard, Smart, and Camera-Integrated)
Most LiftMaster openers come with standard safety reversing sensors, also called photo eyes. These basic sensors just detect obstructions. For more features, myQ-enabled sensors send alerts and health reports to your myQ app. The LiftMaster 84505R model has a built-in 130° wide-angle camera. It streams live video and lets you talk through 2-way audio. You can see your garage from your phone. Another smart option is the LiftMaster 85870 with motion-detecting lighting. It turns on the light when someone walks in. These sensors all use the same infrared beam tech but add extra safety and convenience.
LED Indicator Colors and Meanings
Each sensor has a tiny LED light. On the receiver, a solid green or amber light means normal operation. If the light blinks or stays off, there is a misalignment, power loss, or obstruction. A common pair is one green and one yellow. Green means the receiver has power. Yellow means the beam is weak or partially blocked. This usually happens when the sensors are not pointing exactly at each other. A blinking light that flashes four times per second signals a wiring short or reversed wires. Use the myQ app Health Report to get error codes for fast troubleshooting.
| LED Indicator | Meaning | Action Required |
|---|---|---|
| Solid green (receiver) | Normal operation | None |
| Solid yellow (receiver) | Weak or partially blocked beam | Clean lenses and realign |
| Blinking (both) | Wiring short or reversed polarity | Check and swap wires |
| Off (both) | Power loss | Check wiring, fuse, or opener terminals |
Installation and Wiring: Step-by-Step Guide for LiftMaster Sensors
Optimal Sensor Height and Positioning
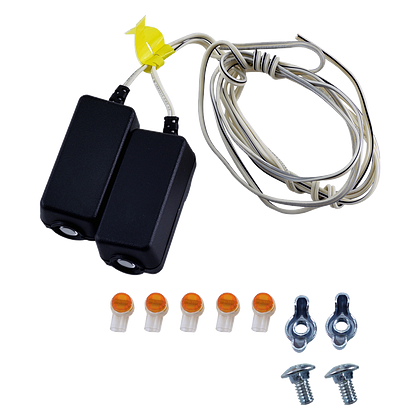
I always mount LiftMaster sensors exactly 6 inches above the floor. This matches the UL 325 safety standard. Use the brackets from your liftmaster sensor kit to attach them firmly to the track or wall. Both sensors must face each other directly. A clear line of sight is critical. Even a small angle can block the infrared beam. Use a level to keep them straight.
Wiring Connections for New Installations
LiftMaster sensor wiring uses color-coded wires. The white and black wires carry power. The white and red wires connect to the opener. On the opener, look for terminal screws marked “Safety Sensors” or “SENSOR.” For a new install, strip the wire ends and tighten them under the correct screws. This works for both new setups and when you replace old sensors.
Replacing Sensors: Kit Options (041-0136, 041-0365-000, 041A5034)
The LiftMaster 041-0136 Safety Sensor Kit works with openers made from 2021 to now. The 041-0365-000 and 041A5034 are older kits. Check your opener model number to ensure compatibility. The kits differ in wiring harnesses, bracket designs, and lens shapes. To remove old sensors, disconnect power first. Then unscrew the brackets. Install the new reversing sensor kit without damaging the wire. For detailed replacement steps, check the complete guide for LiftMaster sensors. Test alignment after you finish.
| Kit Model | Compatible Openers | Key Features |
|---|---|---|
| 041-0136 | 2021–present | Updated wiring harness, new bracket design |
| 041-0365-000 | Older models (pre-2021) | Standard bracket, lens shape |
| 041A5034 | Older models (pre-2021) | Similar to 041-0365-000, different lens |
Alignment and Troubleshooting: Fixing Common Sensor Problems

Step-by-Step Alignment Procedure
I start by cleaning the lenses. I use a soft, dry cloth to remove dust, cobwebs, and debris. Dirt blocks the infrared beam. Next, I loosen the mounting brackets. This lets me move each sensor so they point directly at each other. I use a level or a straight edge. Both sensors must be at the same height and square to the floor. Then I tighten the brackets. I check that the LEDs are steady. A solid light means good alignment. I test by crossing a cardboard box in the beam path. The door should reverse. If not, I repeat the steps.
Why Won’t My LiftMaster Garage Door Close? – Sensor Diagnostics
If the door reverses or refuses to close, I check the sensor lights first. Both LEDs off means a power issue. I check the wiring, fuse, or opener terminals. One LED blinking means misalignment. I realign per the steps above. Sometimes a foreign object breaks the beam. Stored items or a tire can do that. Force settings too low can mimic sensor issues. I cross-check with a manual force test. The myQ app also helps with error codes.
Understanding and Fixing Blinking or Yellow Lights
A common sight is one green and one yellow sensor light. Green means the receiver has power. Yellow means a weak or partially blocked beam. I clean the lenses and realign. If both blink, I check for a wiring short. Blinking rapidly at 4 times per second signals reversed polarity. I swap the wires. I use the myQ app Health Report for advanced diagnostics. It shows error codes. For more troubleshooting tips, see the LiftMaster sensors guide.
Can You Bypass LiftMaster Safety Sensors? – Risks and Legalities
I strongly advise against bypassing sensors. It violates safety standards like UL 325. It risks entrapment. A temporary bypass for diagnostics only is to open the sensor circuit. This tests the opener mechanics. But a permanent bypass is never safe. The proper fix is to repair or replace faulty sensors or wiring. Never disable safety features.
Maintenance, Testing, and Safety Compliance
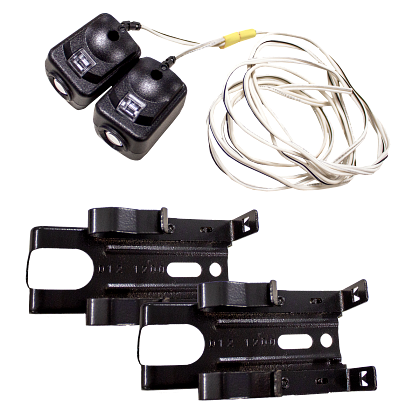
Monthly Testing of Safety Reversing Sensors
I test my sensors every month. Place a roll of paper towels or a 1.5-inch block in the door’s path. Press the close button. The door must stop and reverse within 2 seconds. If it crushes the object, I adjust the force settings right away. If the problem stays, I call a pro. This quick check keeps the infrared beam sensors working right.
Cleaning and Preventative Maintenance
Dust and spider webs block the beam. I wipe the lenses with a dry cloth every week. I check bracket tightness every three months. Garage vibrations loosen them. Once a year, I inspect wire insulation for cracks or rodent damage. Small fixes stop big sensor troubleshooting later.
Compatibility: Are LiftMaster Sensors Interchangeable with Chamberlain?
Yes. Both brands come from Chamberlain Group. Parts like Chamberlain 041A5034 work with similar LiftMaster models. I always check the same Protector System version. Rolling code technology must match. For example, a yellow learn button model uses Security+ 2.0. Mixing older and newer sensors can cause sync issues.
When to Call a Professional – Red Flags Beyond Sensors
Sometimes the problem is not the sensors. If alignment and cleaning do not fix the door, look for bigger issues. Listen for loud grinding noises from the motor. Check for broken springs or cables that throw off door balance. If the opener trips breakers or has no power, call a pro. Safety sensor replacement cannot fix an electrical fault.
| Maintenance Task | Frequency | What to Check |
|---|---|---|
| Clean sensor lenses | Weekly | Dust, cobwebs, debris |
| Check bracket tightness | Every 3 months | Loose screws from vibration |
| Inspect wire insulation | Annually | Cracks, rodent damage |
| Test reversing function | Monthly | 1.5‑inch object, door must reverse within 2 seconds |
| I covered everything about LiftMaster sensors. You now know how they work, how to install them, and how to fix common problems. I also showed you how to test and maintain them for safety. |
My final thought is simple. Do not bypass these sensors. They keep your family safe. Test them each month. A small check saves big trouble. Keep those beams clean and lined up. Your garage door will thank you.
References
- https://www.liftmaster.com/parts/c/safety-reversing-sensors
- https://support.chamberlaingroup.com/s/videos/lm-video-how-to-align-the-safety-reversing-sensors-on-your-liftmaster-garage-doo-MC5W4TEKI4VBGZFFZG2UXREF33T4
- https://www.expressgaragedoors.com/blogs/news/liftmaster-safety-sensor-faq-and-guide
- https://www.liftmaster.com/safety-sensor-kit-2021-to-present/p/041-0136
- https://steelcitygaragedoors.com/top-reasons-why-your-liftmaster-sensor-light-is-yellow/
Connect
Get In Touch
With WECO Today
No.88 Hulin Road, Daqi, Beilun, Ningbo, 315806, China
TEL & WHATSAPP: 86 15857498114
Email: shadow@weco.cc