
LiftMaster Sensors: Complete Guide to Alignment & Fixes
LiftMaster sensors are critical safety reversing devices that use an infrared beam to prevent garage door accidents. This complete guide explains how they work, common problems like misalignment or yellow lights, step-by-step fixes, and replacement options so you can quickly restore safe operation and avoid costly service calls.

LiftMaster sensors are critical safety devices that use an infrared beam to prevent garage door accidents. Lift master sensors: The Complete Guide provides everything needed to understand, install, troubleshoot, and maintain these essential components. From decoding yellow LED lights and error codes like 1-1 or 4-6 to step-by-step alignment procedures and replacement options using genuine kits such as 041‑0136 or 41A5034, this resource addresses the most common problems that keep garage doors from closing. Whether dealing with misalignment, wiring issues, or performing the standard safety reverse test, the guide covers proper installation height, compatibility with Chamberlain and Craftsman openers, and best practices for annual maintenance. By following the detailed instructions, safe and reliable operation can be restored without costly service calls.
How LiftMaster Sensors Work and Installation Guide
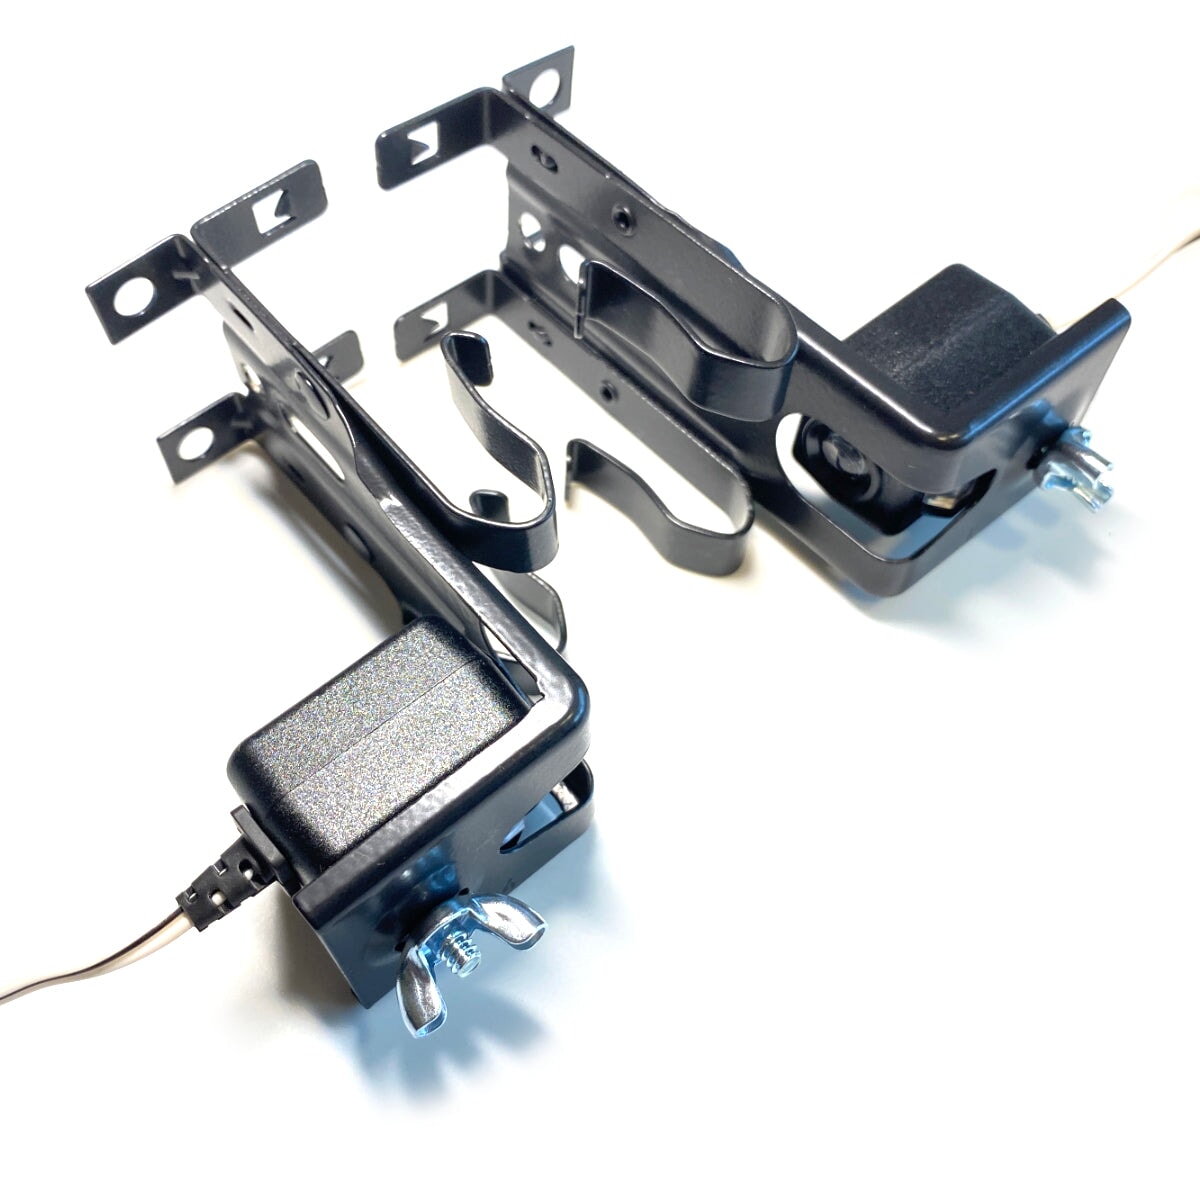
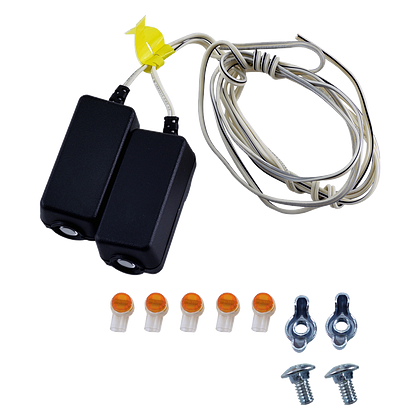
The Core Technology: Infrared Beam and the Protector System
LiftMaster safety sensors, also called photoelectric eyes or reversing sensors, use two small units: a sending eye and a receiving eye. The sending eye shoots a steady infrared beam across the garage door opening. The receiving eye catches that beam. When an object like a car, pet, or child breaks the beam, the garage door opener instantly stops or reverses direction. This protector system has been standard on all LiftMaster openers made after 1993, meeting federal safety rules.
Required Components and Part Numbers
For most LiftMaster models, the standard sensor kit includes a sending eye (part 041A5023-1M) and a receiving eye (part 041A5023-2M). Newer openers from 2021 and later use kit 041‑0136. If you have a belt‑drive opener, kit 41A5034 is common. Because Chamberlain Group owns LiftMaster, Chamberlain, and Craftsman, these sensors work on all three brands if the opener was made after 1997.
| Opener Type / Year | Recommended Sensor Kit | Sending Eye Part | Receiving Eye Part |
|---|---|---|---|
| Most models (1993–2020) | 041A5023‑1M / 041A5023‑2M | 041A5023‑1M | 041A5023‑2M |
| Newer openers (2021+) | 041‑0136 | Included in kit | Included in kit |
| Belt‑drive openers | 41A5034 | Included in kit | Included in kit |
| Chamberlain / Craftsman (post‑1997) | Compatible with above kits | Same as LiftMaster | Same as LiftMaster |
Step-by-Step Installation Process
Mount each sensor exactly 6 inches above the garage floor on both sides of the door. Make sure they point directly at each other. Use the supplied brackets and fasten them securely to the wall or door track. Wire the sensors using 22‑gauge bell wire. Connect the sending eye to the opener terminals (often white or white‑black) and the receiving eye to the same terminals. Staple the wire runs to prevent shorts and keep them away from moving parts. Plug in the opener and check the LEDs: the sending eye glows red, and the receiving eye glows green when aligned.
Wiring Diagram and Connector Tips
Most LiftMaster openers use a simple two‑wire connection for sensors. Polarity does not matter. If your opener has a dedicated terminal block labeled "Safety Reversing Sensors," follow those marks. Use wire nuts or quick‑connect plugs for a secure, rust‑free join.
Troubleshooting Sensor Issues: LED Lights, Error Codes, and Alignment Fixes

Decoding the LED Lights on LiftMaster Sensors
The LED indicators on LiftMaster sensors tell you exactly what is happening. A solid red on the sending eye means power is reaching the transmitter – this is normal. A solid green on the receiving eye means the infrared beam is detected and aligned correctly. If you see a solid yellow on the receiving eye, you have a common misalignment or a dirty lens; the beam is weak. A blinking red or off sending eye points to a power issue – check the wiring or breaker. Blinking green or yellow signals an intermittent obstruction or partial beam blockage, like a cobweb.
| LED State (Sending Eye) | Meaning | LED State (Receiving Eye) | Meaning |
|---|---|---|---|
| Solid red | Normal – power is on | Solid green | Normal – beam aligned |
| Solid yellow | (not typical) | Solid yellow | Misalignment or dirty lens |
| Blinking red | Power issue – check wiring | Blinking green or yellow | Intermittent obstruction (cobweb, etc.) |
| Off | No power – check breaker/wiring | Off | No beam detected – check sending eye |
Common Causes of Sensor Malfunction
Most sensor problems come from misalignment due to vibration or accidental bumping of brackets. Dirty or foggy lenses from dust, cobwebs, frost, or moisture also cause trouble. Wire damage is another culprit – rodents chew through the 22-gauge bell wire, or wires get pinched and corroded. Direct sunlight can overwhelm the infrared receiver, though this is rare. Loose connections at the opener terminals also trigger false alerts.
Step-by-Step Alignment Procedure
First, loosen the wing nuts on both sensor brackets. Adjust each sensor to point squarely at the opposite unit. Use a level to ensure both sensors are perfectly vertical. Tighten the brackets and watch the receiving eye LED: it should turn from yellow to solid green. If the light stays yellow, clean the lenses with a soft, dry cloth and check for physical obstructions.
Interpreting Error Codes (1-1, 4-6, and Others)
Error code 1-1 on the opener means the sensors are misaligned or obstructed – follow the alignment steps above. Error code 4-6 indicates a sensor wire is shorted or cut; inspect the wiring for damage. Code 3-5 (on some models) means the beam was interrupted during the closing cycle; clear the path and retest. Remember, error codes vary by opener model; consult your owner’s manual for exact meanings.
| Error Code | Meaning | Recommended Action |
|---|---|---|
| 1‑1 | Sensors misaligned or obstructed | Align sensors and clean lenses |
| 4‑6 | Sensor wire shorted or cut | Inspect wiring for damage |
| 3‑5 (some models) | Beam interrupted during closing | Clear path, retest |
Can You Bypass LiftMaster Sensors Temporarily?
Bypassing sensors is not recommended and violates safety codes. But for testing only: disconnect the sensor wires from the opener and replace them with a jumper wire. The door will close without safety beam protection. Reverse the jumper immediately after testing. Never operate the door long-term without sensors – it is dangerous.
Replacement, Testing, and Maintenance
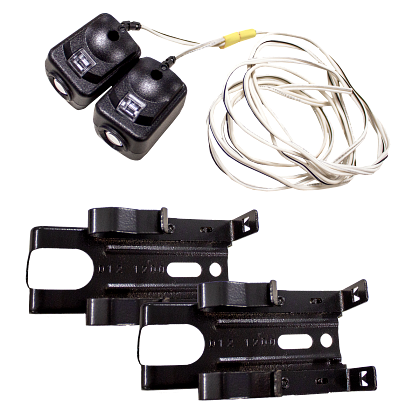
When to Replace Sensors
I replace sensors when I see cracked lenses or broken brackets. Corroded terminals also mean it is time for a new set. If the door reverses for no reason after I clean and align the sensors, the parts may be worn out. Another sign is the receiving eye LED staying off even when power is good. For openers newer than 1993 that use old sensors, I upgrade to a modern kit like 041‑0136 or 41A5034. This keeps the safety system working right.
Genuine LiftMaster vs. Universal Replacement Sensors
I always pick genuine LiftMaster kits for a safe fit. Kits like 041‑0136 and 41A5034 match the beam frequency of your opener. Universal parts may work, but they can cause flickering lights or fail a safety test. Before buying, I check the model number and year of my opener. Chamberlain and Craftsman units made after 1997 use the same sensors. A wrong part can lead to false reverses or a door that won't close.
How to Replace Sensors – Quick Guide
I start by unplugging the garage door opener. Then I take off the old sensors from their brackets and cut the wires. I mount the new sensors at the same 6‑inch height from the floor. Next, I connect the sending eye to one pair of terminals and the receiving eye to the other pair. Polarity does not matter. I restore power and adjust each sensor until the receiving LED turns solid green. That means the beam is aligned.
Conducting the Safety Reverse Test (CPSC Recommended)
I place a 1.5‑inch‑thick block of wood in the door's path. Then I press the close button. The door must reverse when it hits the block. If it does not reverse, I stop using the opener right away and check sensor alignment and wires. I run this test every year and after any sensor repair or swap. It matches the U.S. Consumer Product Safety Commission advice for safe garage doors.
Maintenance Best Practices
Each month I clean the sensor lenses with a soft, dry cloth. I never use harsh chemicals. Every six months I check the wire insulation for cracks or rodent bites. I tighten the bracket screws to stop vibration from knocking the sensors out of line. I also test the safety reverse function every three months. These simple steps keep the LiftMaster protector system working and avoid surprise repairs.
You now know how those LiftMaster sensors work. I showed you the install, the fix for that yellow light, and the safety test. Don't skip that test. Your family's safety relies on that beam. Keep the lenses clean. Check the wires twice a year. A working sensor saves lives. Do not mess with bypasses. Stick with genuine parts. Trust the green light.
References
Conectar
Ponte en Contacto
Con WECO Hoy
No.88 Hulin Road, Daqi, Beilun, Ningbo, 315806, China
TEL & WHATSAPP: 86 15857498114
Correo electrónico: shadow@weco.cc